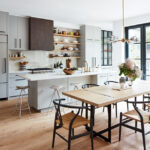
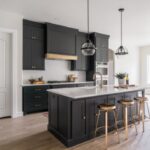
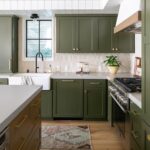
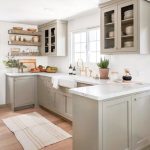
Have you ever looked at your kitchen or workshop and thought, “If only I had more storage that actually fits my space”? Learning how to build cabinets might sound intimidating at first, but it’s a skill that can transform not just your home but also your confidence in woodworking. With the right tools, planning, and patience, you can create beautiful, functional cabinetry tailored to your needs.
In this guide, I’ll walk you through the process, share tips I’ve learned over the years, and even include a real-life case study of a DIYer who successfully built their own cabinets. Whether you’re planning for a kitchen remodel or need custom garage storage, this step-by-step approach will help you get there.
Content
Why Learn How to Build Cabinets?
Building your own cabinets comes with major advantages:
- Cost savings: Pre-made cabinets or hiring professionals can be pricey. By building your own, you save significantly on labor and markup costs.
- Customization: You control the size, design, and materials perfect for awkward spaces.
- Skill-building: Cabinet making enhances your woodworking skills, from cutting plywood to mastering joinery techniques.
- Satisfaction: Nothing beats the pride of saying, “I built this myself.”
Gather the Essential Tools and Materials
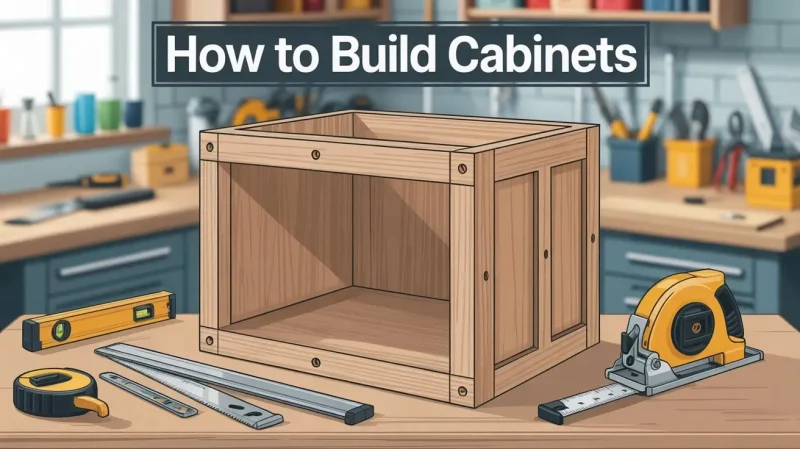
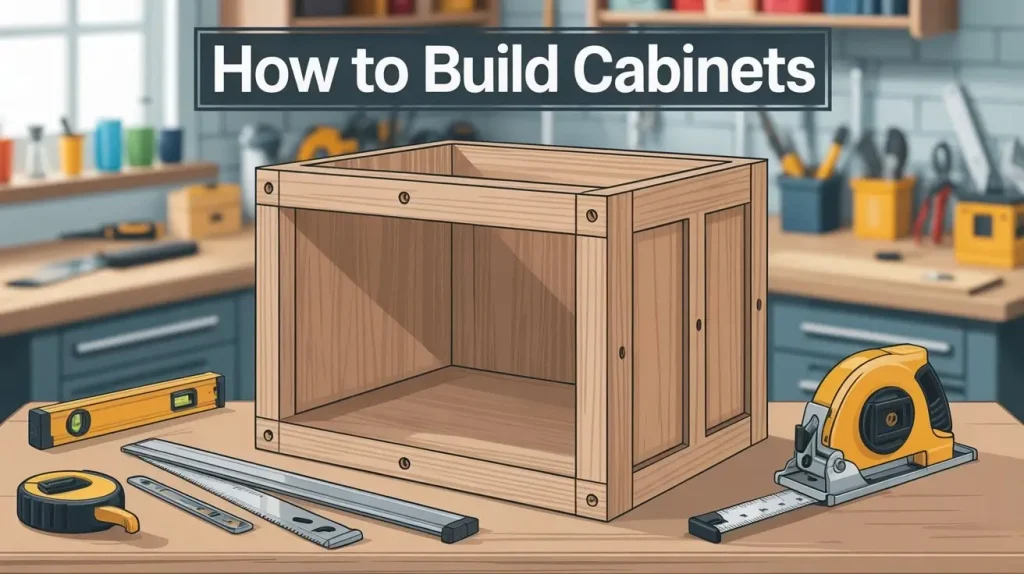
Before you start cutting wood, you’ll need the right setup. For beginner cabinet makers, investing in quality tools ensures accuracy and durability.
Tools you’ll need:
- Table saw or circular saw (for cutting plywood)
- Power drill and driver
- Clamps (lots of them!)
- Measuring tape and square
- Pocket hole jig (great for joinery techniques)
- Sander or sanding block
Materials:
- Cabinet-grade plywood or MDF (for the box and shelves)
- Hardwood (for face frames or cabinet doors)
- Screws, wood glue, and finishing nails
- Hinges and drawer slides (if adding drawers)
- Paint, stain, or clear coat finish
Always choose cabinet-grade plywood over cheaper alternatives. It has fewer voids and gives a smooth finish that’s easier to paint or stain.
Plan and Measure Twice
Every successful cabinet project starts with careful planning.
- Measure your space carefully, accounting for walls, floors, and appliances.
- Sketch your design — even a rough drawing helps.
- Decide whether you’re making base cabinets, wall cabinets, or both.
Using a cut list (a detailed breakdown of each piece of wood you’ll need) helps minimize waste and keeps your project organized.
Cutting the Cabinet Parts
When it comes to DIY cabinetry, precision is everything. Cut your plywood for:
- Sides (left and right panels)
- Top and bottom
- Back panel
- Shelves
Mark each piece clearly. Many beginners make the mistake of cutting without labeling, which can cause confusion later.
Assembly and Joinery Techniques
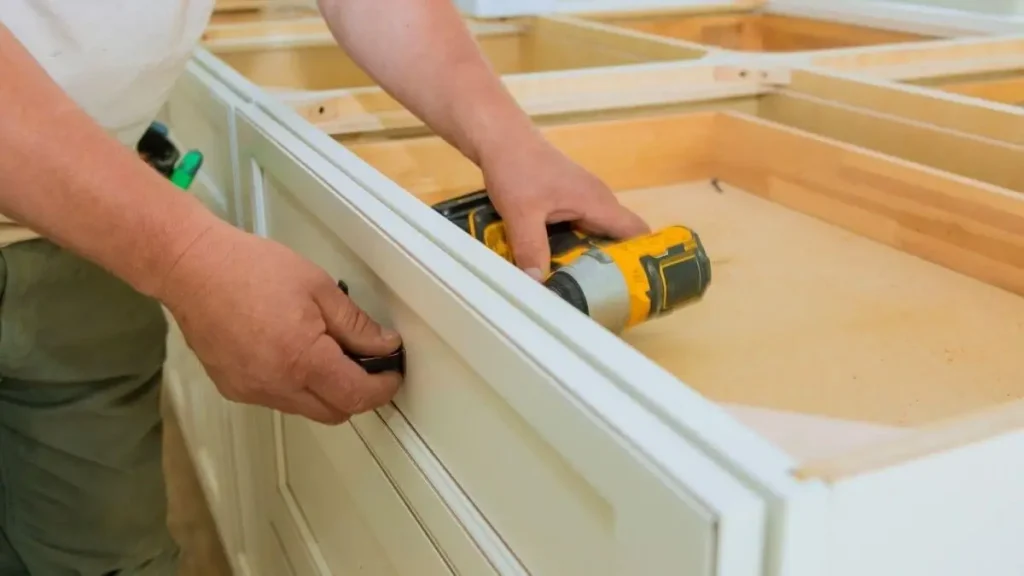
There are many ways to join cabinet pieces, but for beginners, pocket holes and wood glue are the easiest and strongest methods.
- Start by attaching the sides to the top and bottom.
- Insert the back panel and secure it.
- Add shelves according to your design.
For face frame cabinets, attach the hardwood frame to the front for a polished look. Frameless cabinets (popular in modern kitchens) skip this step for a sleek design.
Building Cabinet Doors and Drawers
DIY Kitchen Cabinet doors can be as simple or detailed as you’d like. Options include:
- Slab doors: Flat and modern, made from plywood or MDF.
- Shaker style: Classic, with a recessed center panel.
- Raised panel doors: More advanced, requiring additional tools.
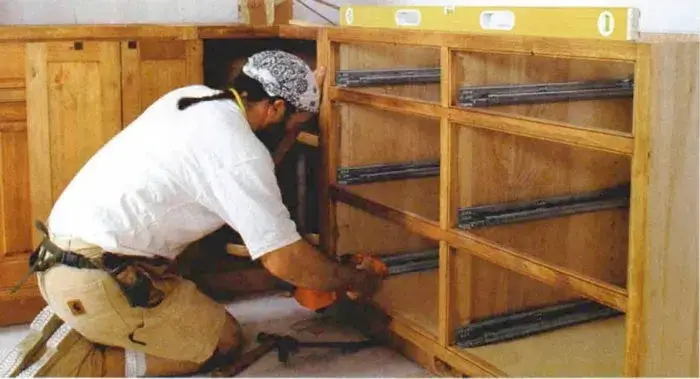
If you’re adding drawers, invest in drawer slides for smooth operation. Building drawers is more advanced but very rewarding.
Sanding, Painting, and Finishing
No cabinet is complete without a smooth finish. Sand all surfaces, starting with coarse grit and moving to finer grit.
Then choose your finish:
- Paint (for a modern look)
- Stain (to highlight natural wood grain)
- Clear coat (for durability)
This is where your project comes to life. A great finish can make even a simple design look professional.
Case Study: How Mark Built His Own Kitchen Cabinets
Mark, a homeowner in Ohio, decided to renovate his outdated kitchen. Instead of spending $12,000 on new cabinets, he researched how to build cabinets and gave it a shot.
Here’s what he did:
- He started with base cabinets, using pocket hole joinery and plywood.
- He opted for shaker-style cabinet doors since they’re stylish yet beginner-friendly.
- To save money, he reused his old hinges and drawer pulls.
In total, Mark spent $2,800 on tools and materials. Not only did he save thousands, but he also gained woodworking skills he’s now using for a garage storage project. His kitchen looks custom-made — and he gets compliments every time guests visit.
Common Mistakes to Avoid
Even experienced woodworkers make errors. Watch out for these:
- Skipping measurements: “Measure twice, cut once” isn’t just a saying.
- Using low-quality plywood: Cheap wood leads to sagging shelves.
- Forgetting ventilation during finishing: Paint fumes can be dangerous.
- Overloading shelves: Know your weight limits!
Conclusion:
Learning how to build cabinets might feel overwhelming at first, but with step-by-step planning and the right tools, it’s absolutely achievable. You’ll not only save money but also gain the satisfaction of creating something functional and beautiful for your home.
Whether you’re tackling a full kitchen renovation or want to complement your taupe kitchen cabinets with custom storage, cabinet making is a DIY project that pays off for years to come.
FAQs About How to Build Cabinets:
Q1: Is it cheaper to build a cabinet or buy one?
Building cabinets yourself is usually cheaper than buying, especially if you already have tools and use budget-friendly materials.
Q2: What is the 1-3 rule for cabinets?
The 1/3 rule for cabinets helps balance proportions: one-third for drawers, two-thirds for doors or shelves, ensuring function and design harmony.
Q3: Can a beginner build cabinets?
Yes, a beginner can build cabinets with basic tools, accurate measurements, and simple designs like slab or shaker style doors.
Q4: What type of wood should I use to build cabinets?
Cabinet-grade plywood is best for strength and finishing, while hardwoods like maple or oak work well for doors and face frames.

Eileen is a home blogger who loves to share her experiences with others. She likes being motivated and encourages people to be the best they can be.
